Feature guide
Carousels
Create carousels with your brand's visual identity, edit them slide by slide and download them to publish.
In this guide
Before you start: your visual identity
Tap Visual Identity: it takes you to your brand's identity, where you set its colors and logo. Your carousels take their style from there. If you change your identity later, open a finished carousel: if you see Apply current identity, tap it so it picks up the changes.
Create a carousel
- Type the carousel's topic. If your brand has current promotions in its Brain, you can also choose to start from a Promo instead of an Idea, and pick which one.
- Choose how many Slides you want (from 3 to 9).
- Choose the design and the colors. Depending on your account, you do it in one of these two ways:
- Below the topic you choose the identity (Identity:), the Carousel design and the Color variant (Dark, Light or Brand color), and then tap Generate.
- Or you tap Generate and Generate carousel opens: you review the Topic, choose the Visual identity and the Design style, and tap Generate.
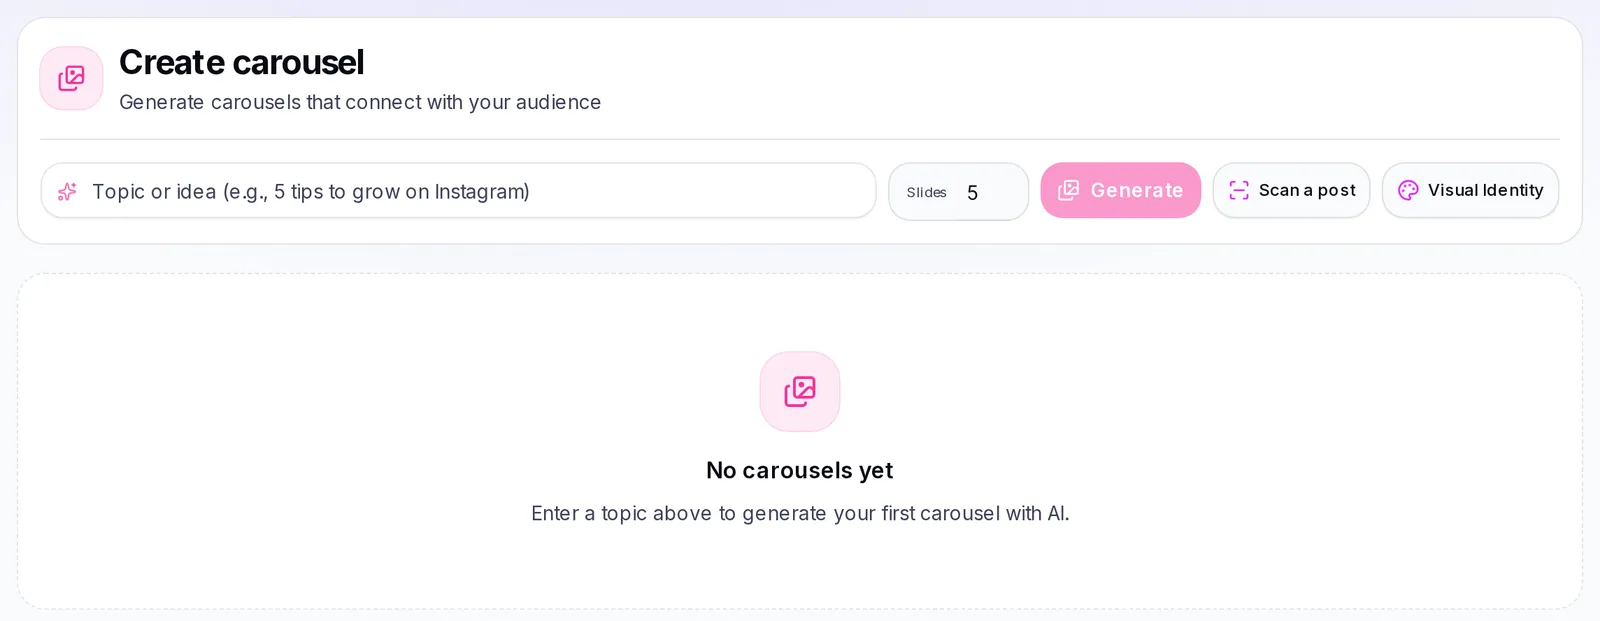
While it's being created, the carousel shows Rendering. If something goes wrong, you'll see Failed and you can try again.
Scan a post to create a carousel
This lets you create a carousel with the same visual style as another post you liked, ready for you to add your own content. This option isn't on every account: if you don't see the Scan a post button, your account doesn't have it.
- In the Carousels tab, tap Scan a post (on your phone you'll only see its icon, next to Generate).
- Choose how you want to do it:
- Scan by link: paste the address of an Instagram post into Post link. It only works with Instagram posts.
- Scan by image: tap Choose images and upload the post's images (JPG, PNG or WebP, up to 20). You'll see how many you chose.
- Tap Scan. You'll see the message "We're creating your carousel". It takes a few seconds.
- When it's done, the new carousel opens by itself in the editor so you can change the text, the images and the colors. When you're finished, tap Save and render.
The carousel stays in your list with the Scanned label, so you can find it quickly with the filters.
Your list of carousels
- At the top you filter by source: All, Idea, Promo, Offer or Scanned. Each carousel has the same label on its card.
- A carousel with the Draft — review before generating images notice doesn't have images yet: review and change whatever you want and, when it's ready, tap Render slides.
- To delete a carousel, tap the trash icon on its card and confirm in Delete carousel?.
Edit
Open the carousel and tap Edit. What you see depends on your account:
- Editing inside the carousel: you change the title and the text of each slide, add a background photo to any slide you want with Upload photo, and if one doesn't convince you, tap Regenerate this slide with AI. When you're finished, tap Save.
- Canvas editor: it opens full screen and you can move and change each element: add text, images and icons, Insert logo, arrange the Layers, undo and redo. When you're finished, tap Save and render.
If you see We recommend regenerating on a finished carousel, tap Regenerate slides to get a better version.
Download and publish
Tap Download all slides to download the images, and Copy to take the post's text with you.