Feature guide
Email Marketing
Create emails with your brand's look, with AI or from templates, organize them into campaigns and download them ready to send.
In this guide
You'll find it in the side menu, under Email Marketing. Available depending on your plan: if your plan doesn't include it, you'll see the option to upgrade it.
Are my emails sent from here?
No. Email Marketing is for creating and designing your emails, not for sending them. When an email or a campaign is ready, you download it and send it from your usual email tool. We explain how in Download your emails.
What you'll find here
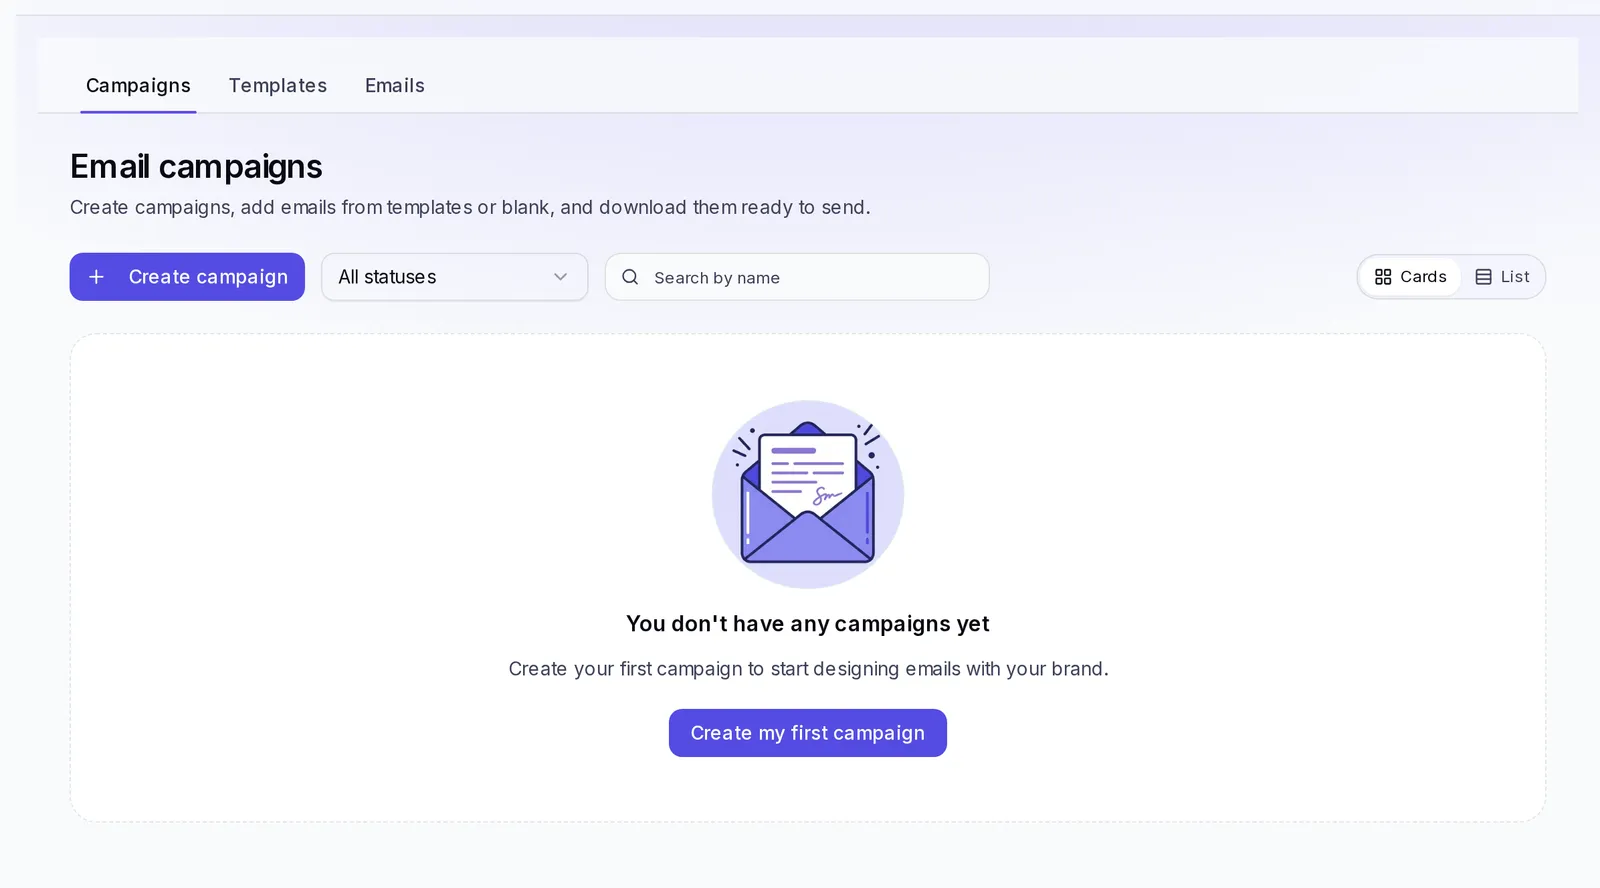
The screen has three tabs at the top:
- Campaigns: groups of emails that go together, like a welcome sequence or a launch. It's the tab that opens first.
- Templates: ready-made designs to get started faster, both for full campaigns and for single emails.
- Emails: individual emails that don't belong to a campaign.
Each email and each campaign belongs to a brand. You need at least one brand created to get started.
Adapt it to your brand
Emails come out with your brand's look: its name, its logo and its colors, and the ones the AI writes use its voice and its audience. On top of that, the footer of all your emails carries your brand's contact details.
When you create a campaign you'll see the Details that go in every email box. Fill in the Address, the Contact email and the Phone there, and click Save to my brand. They're saved once on your brand and show up in the footer of all your emails. Your social networks and your tagline show up on their own if you already have them in your brand.
Prepare a campaign
- Go to Campaigns and click Create campaign.
- Choose the Brand. It can't be changed after you create the campaign.
- Type the Name, the Description and the Goal. If you'd rather have the AI help you, click Set up with AI, answer a few short questions (who you're writing to, what you want to achieve, in what tone…) and click Build the proposal. What it suggests goes into the fields and you can change it.
- In How do you want to start? choose an option:
- Start blank: an empty campaign; you add the emails yourself.
- A template: the campaign starts with several emails ready to edit. You can filter them by category (Welcome, Launch, Promotion, Reactivation…).
- Create with AI Agent: click Talk to the specialist and the Email Marketing Specialist asks you a few questions and builds the whole campaign with your brand's real details.
- Click Create campaign.
Organize several emails
Inside a campaign you'll see Emails in this campaign:
- Click Add email and choose Generate with AI (you describe the email and the AI writes it in your brand's voice), Use template (from System or My templates) or Start blank.
- Drag an email to change its order in the sequence.
- In each email's menu you have Edit, Duplicate and Delete.
Manage a campaign
- Status: each campaign can be Draft, Active or Disabled. Change it from its status selector whenever you want to mark where it stands.
- Search and filter: in the campaign list you can filter by Brand and by Status, search by name and choose to see it as Cards or as a List.
- More options inside the campaign: Save as template or Delete campaign. Deleting it also deletes all its emails and can't be undone.
Create an email
In the Emails tab, choose the brand and click Create email. You have four ways to start, and they're all edited the same way afterwards:
- With the AI Agent: it asks you questions and builds it with your brand's real details.
- Generate with AI: you describe the email in one sentence.
- From a template: you start with an email that's already built and change it.
- Start blank: an empty canvas where you add the blocks.
Generate an email with AI
- Click Create email and choose Generate with AI (or Generate with AI when you add an email to a campaign).
- Choose the Brand.
- In What's this email about? describe what you want. E.g.: "Announcement of the September launch, aimed at customers who've bought from us before, with a 20% discount." The more specific, the better.
- Click Generate. When you see Email generated, open it to review and edit it.
Generating emails uses credits from your plan.
Design an email
When you open an email you go into the visual editor. It works on a computer or on a tablet in landscape; on small screens it will ask you to use a bigger one.
- Email details: type the Subject (the title people see in their inbox), the Preview text (the teaser next to the subject), the Sender name and the Reply-to email.
- Add blocks from the left panel, grouped into Text, Media and Structure: Heading, Paragraph, Image, Button, Social links, Color band, List, Video, Timeline, Columns, Divider and Spacer.
- Select a block to change its properties in the right panel: text, size, alignment, colors and links. In a paragraph, highlight a piece of text to make it bold, italic or underlined, or to add a link.
- Images: upload them from your device, choose them from the Library or create one with AI by describing what you want to see (creating an image uses balance from your plan).
- Video: emails don't play video, so the block shows a cover image with a button that takes people to the video.
- Switch between Edit and Preview, and see how it looks in Desktop view and Mobile view.
Changes save on their own: at the top you'll see Saving… and then Changes saved. If you delete a block by mistake, click Undo in the notice.
Download your emails
When an email is ready, download it to send it with your email tool:
- Inside the editor of a campaign email, click Download email.
- Inside a campaign, you can download a single email or all the emails in the campaign in a compressed folder.
- In the lists, each card's menu also has Download.
Save an email as a template
If you designed an email you want to use again:
- Open it from the Emails tab.
- In More options, click Save as template.
- Give it a Name, an optional description and a Category.
- Click Save template. You'll find it in Templates → Single emails.
The email stays as it is; the template is a copy. You can also do it from its card's menu in the list.
Use a template
In Templates, choose the type: Campaign sequences or Single emails. Then look at the System ones or My templates, filter by category or search by name.
- Email template: tap it and an email is created in your brand, ready to edit.
- Campaign template: open it to see its emails one by one and click Use in a new campaign.
Create your own template
Your templates come from what you've already designed:
- From a full campaign: inside the campaign, in More options, click Save as template, give it a name and click Save template. The campaign needs at least one email.
- From a single email: follow the steps in Save an email as a template.
Reuse templates
Your templates show up in My templates, both when you create a campaign and when you add an email. Use them to kick off your recurring campaigns (the monthly newsletter, the welcome for new customers) without starting from scratch. If you delete a template, the campaigns and emails you already created with it don't change.
If something doesn't work
- "Your current plan doesn't include email marketing": upgrade your plan to use this feature.
- "You've reached your plan's monthly limit": you've already used this month's credits; wait for the next period or upgrade your plan.
- "You can only view": your role on the team is viewer. Ask an editor on your account to make the change.
- "Another device edited this email": click Reload to continue with the latest version.