Step-by-step guide
Set up your brand step by step
Which section to fill in first, what each one is for and how to get your brand ready to create content that sounds like you.
In this guide
Before you start
- Have a brand created. If you don't have one yet, follow Create your first brand.
- Know who you're talking to and what you sell. You don't need to have it written down: you build it up in each step.
Where to start
Start with what defines your brand: who you are, who you talk to and how you talk. With those three parts ready, your ideas and scripts already sound like you. Then come your content strategy and what your brand knows today: offers, promotions and documents.
The order we recommend
- Brand profile: who you are.
- Audience: who you talk to.
- Tone & voice: how you talk.
- Framework: how you structure your videos.
- Content strategy: what you post and where.
- Content roadmap: your posting phases.
- Connect your Instagram or Facebook.
- Analyze videos you like.
- Fill in the Brain with your offers, promotions and documents.
- Set your goals for the month.
- Generate your first ideas.
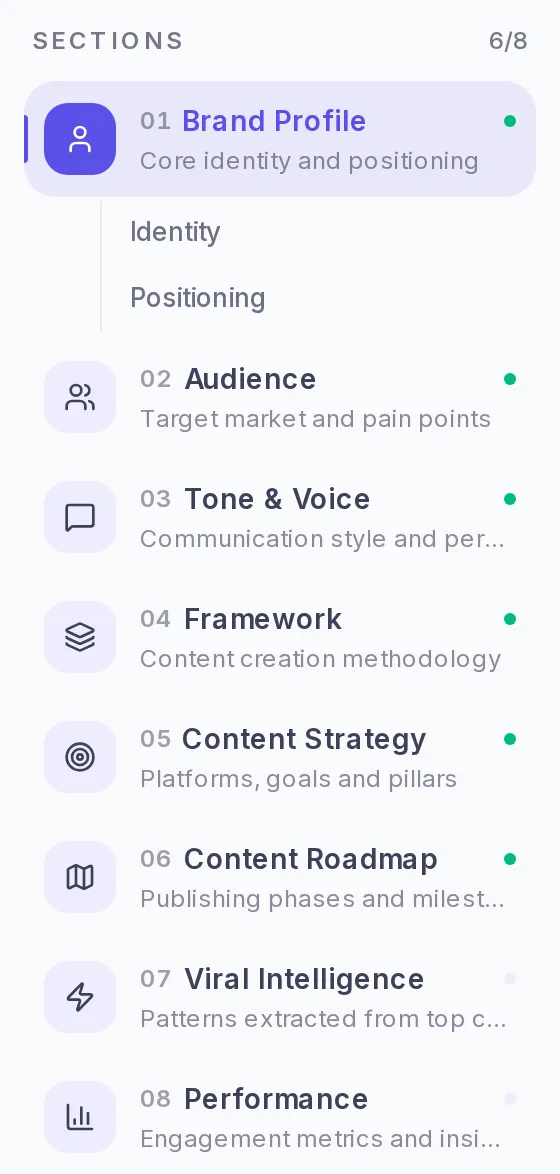
The first six steps are in Brand → Settings. At the top you'll see a bar with your progress: when it reaches 100%, your brand is complete.
Step by step
Step 1 — Brand profile
What to fill in: the brand name, who the creator is, your intro line, your bio, how you describe your business, what makes you different and your niche.
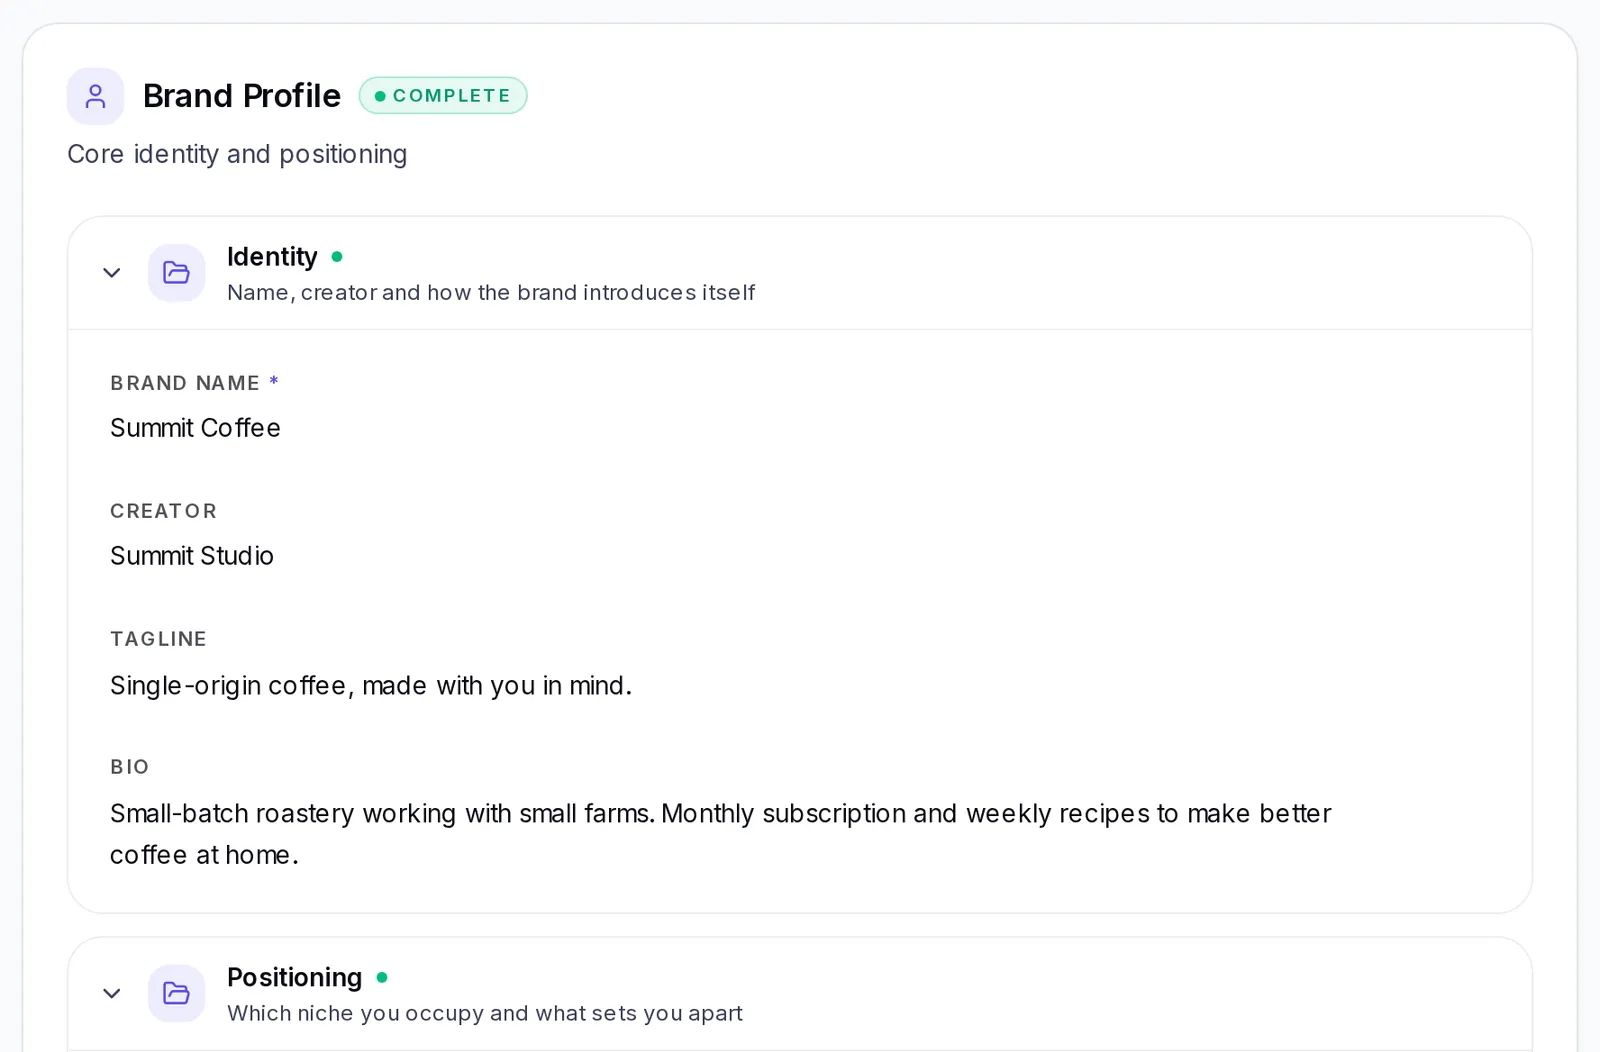
Why it goes first: everything else is written for this brand. The niche also decides which trends and which news you see.
A good example of a "Differentiator": "15-minute healthy cooking classes for working moms". A weak one: "Tasty, healthy food".
Step 2 — Audience
What to fill in: who your audience is, their details (age, location, occupation), the groups you talk to, their pain points, their desires and their objections.
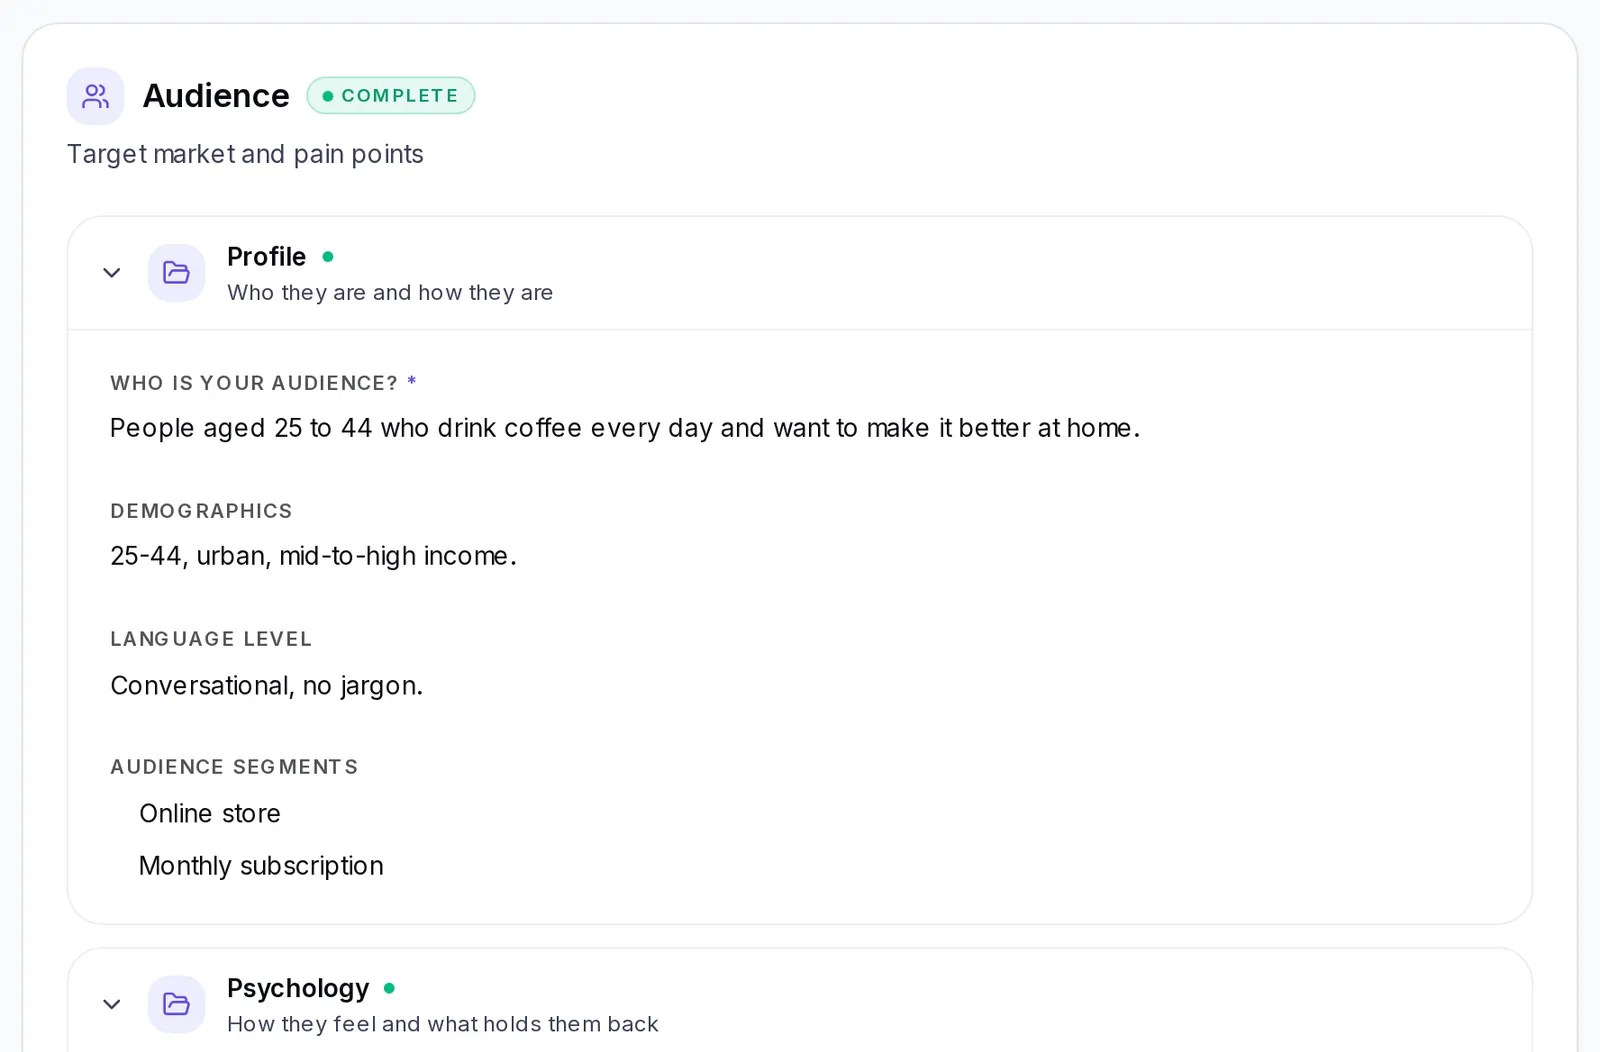
What it's for: with a clear audience, your ideas speak to real people and not to everyone.
Tip: write pain points the way your customer would say them, in their own words: "I don't have time to cook during the week".
Step 3 — Tone & voice
What to fill in: your style, your voice, the language, how you like to open your videos, your personality traits, the words you always use, the ones you'd never use and a few example phrases of yours.
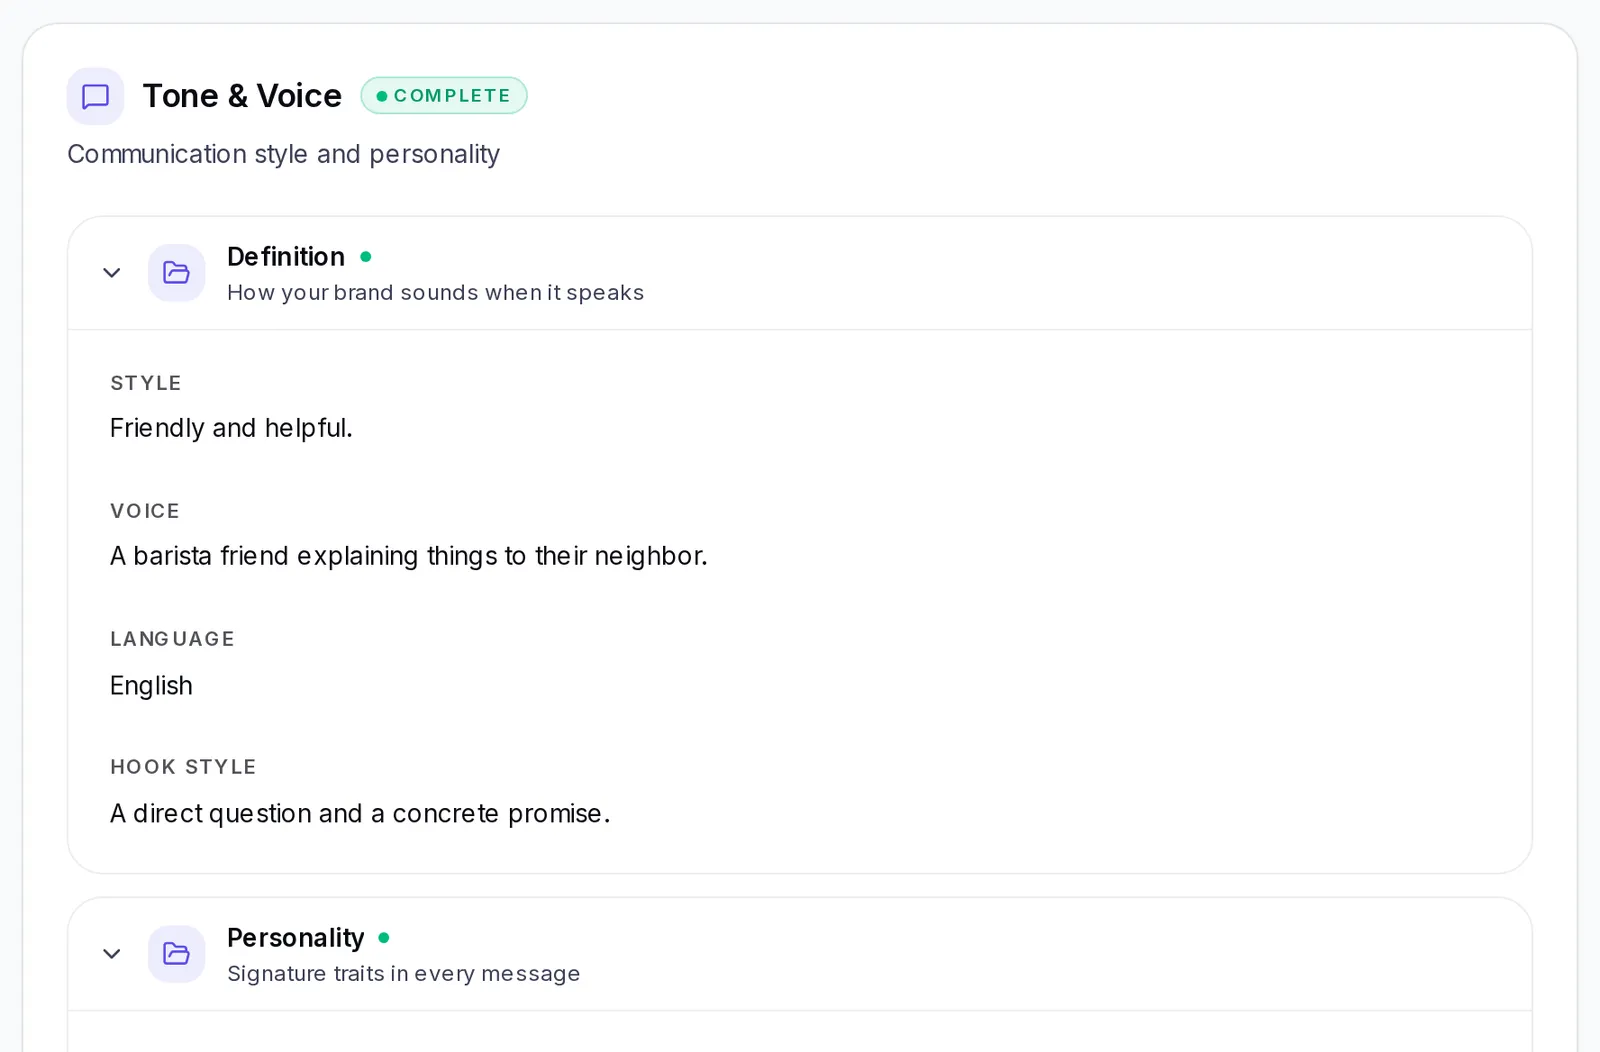
What it's for: it's what makes a script sound like you and not like anyone else. Add a few example phrases of yours: they help the result resemble the way you talk.
Step 4 — Framework
What to fill in: the structure you build your content on, with its stages. If you don't have one, choose one of the Templates that show up in the section; you can adjust it later.
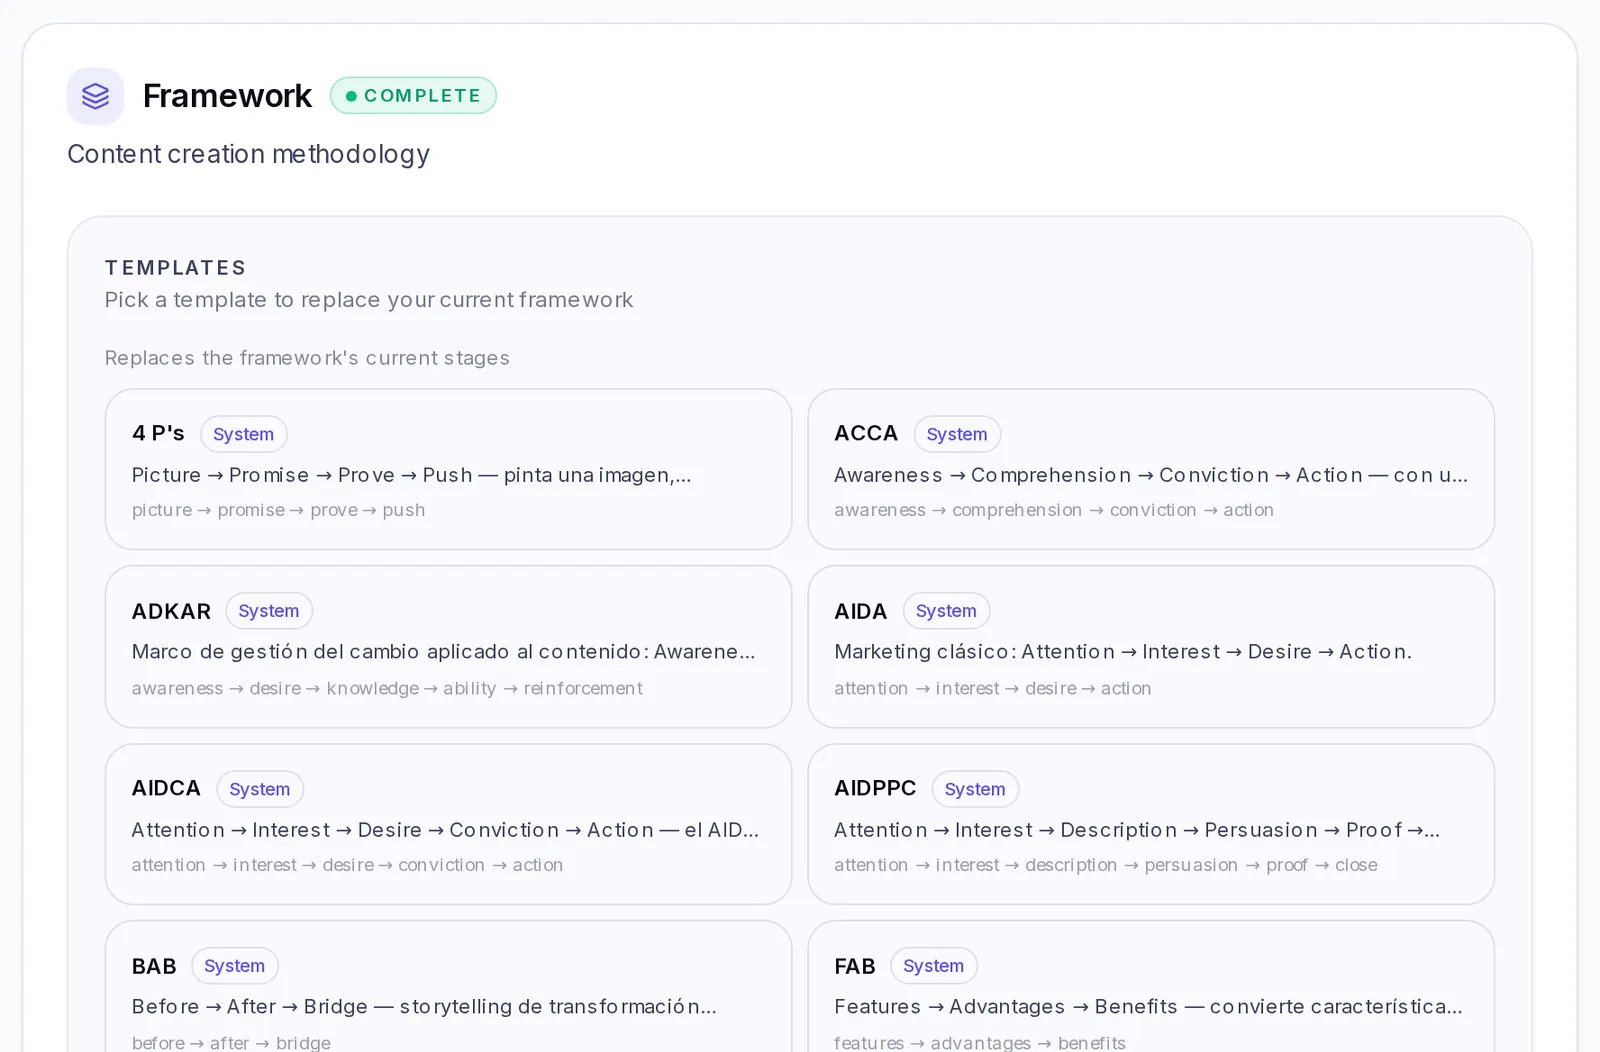
What it's for: your scripts follow this structure, so your content feels consistent from one video to the next.
Step 5 — Content strategy
What to fill in: your content's goal, the networks you post on, the formats you use, how often you post and your content pillars (the big topics you talk about).
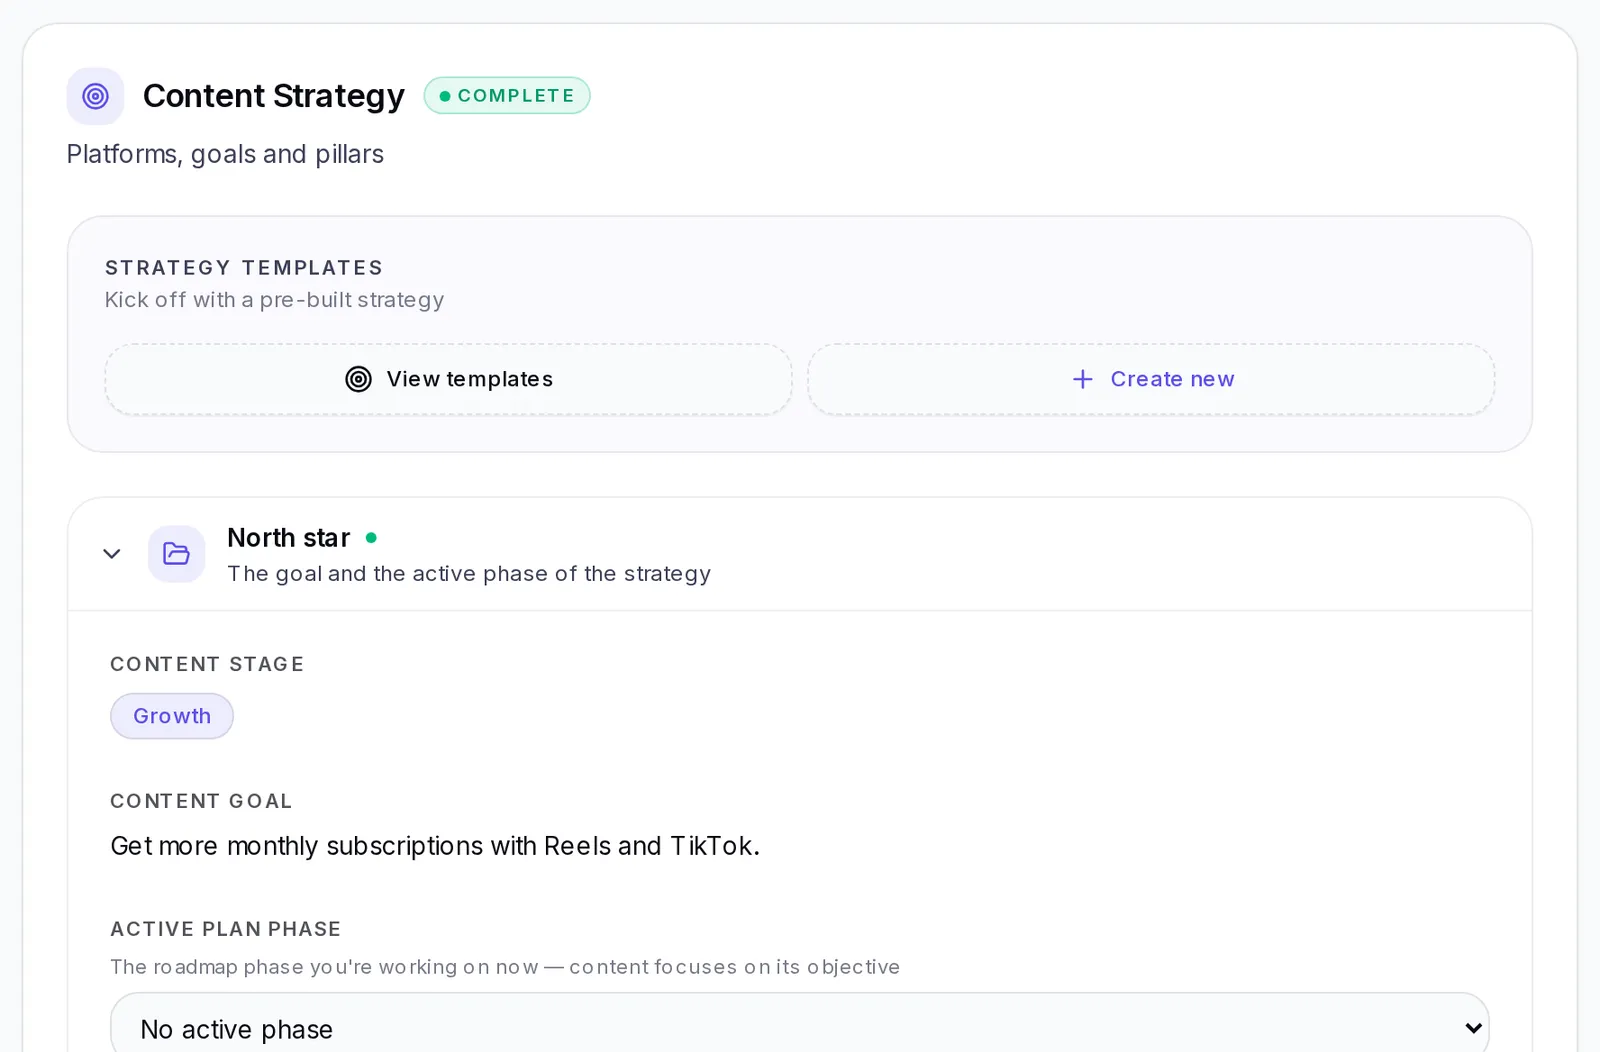
What it's for: pillars let you ask for ideas on a specific topic in Studio. With three to five clear pillars, it's easier to keep your content varied.
Step 6 — Content roadmap
What to fill in: the phases your content will go through (for example "Get known", "Build trust", "Sell"), each one with its goal, its pillars and how you'll measure whether it worked.
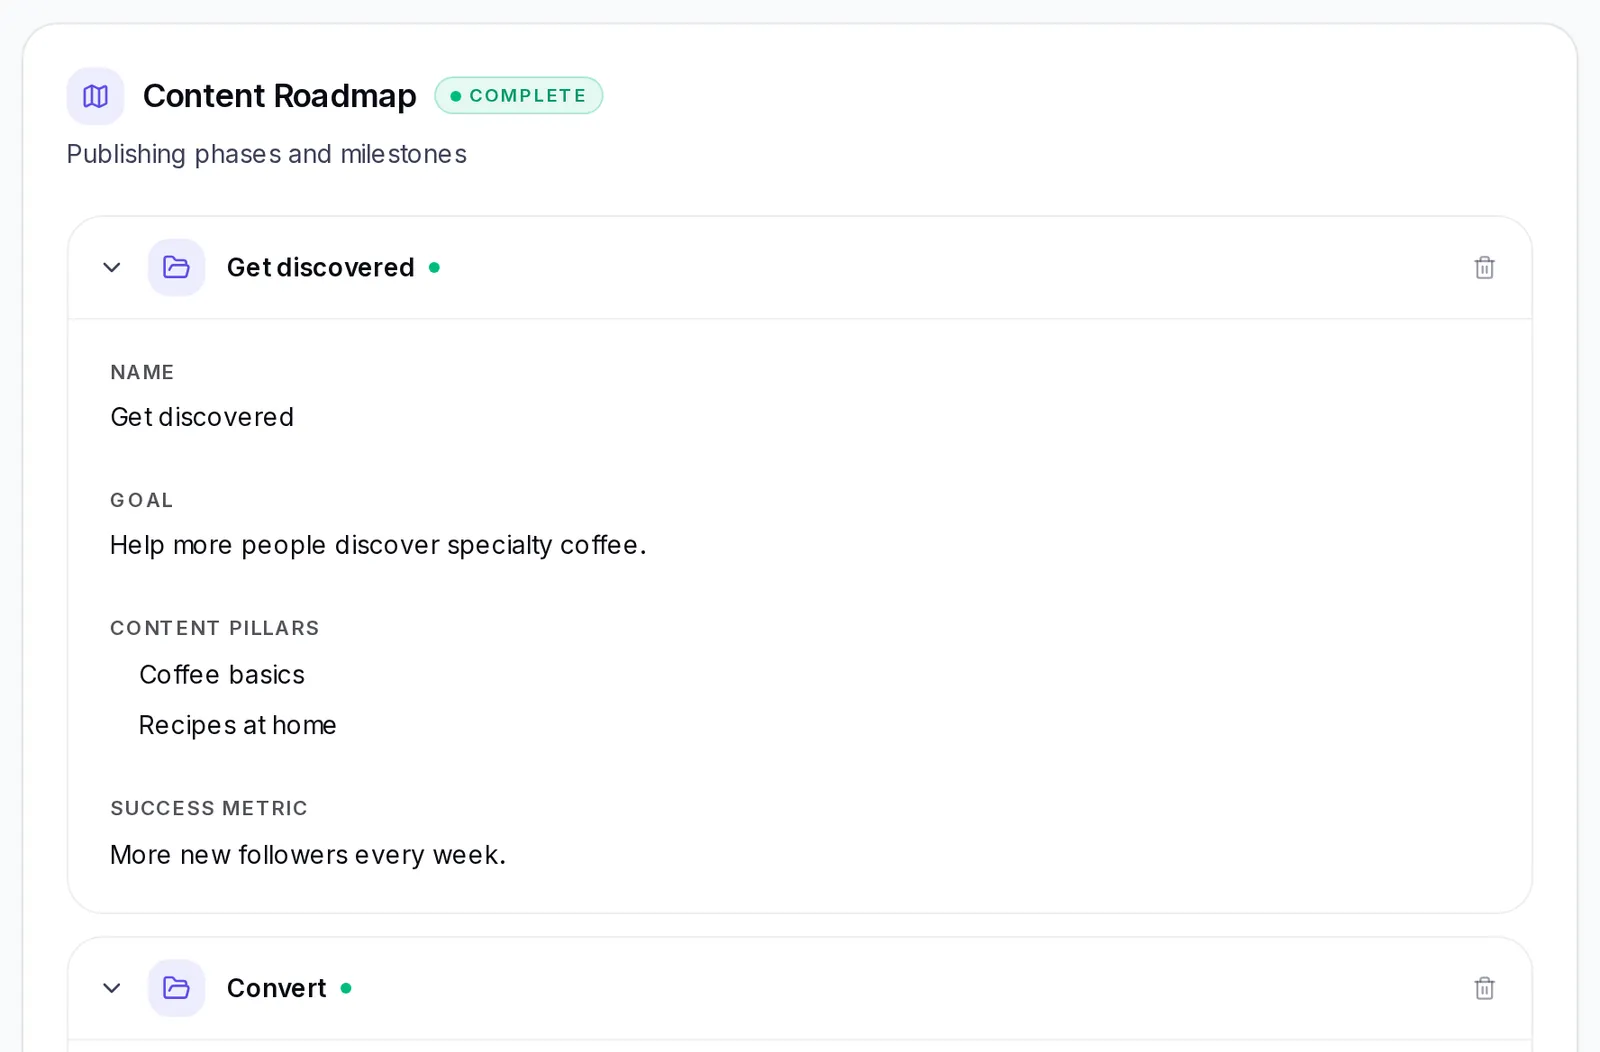
What it's for: it helps the content in each stage push toward your goal, instead of posting aimlessly.
Step 7 — Connect your Instagram or Facebook
Go to Connections and connect your account. That way your numbers show up in Metrics, your social media goals are measured automatically and you can bring your brand's Performance section up to date with Refresh now.
Step 8 — Analyze videos you like
In Analysis, paste the link to three to five videos (your own or from other accounts) you'd like to use as a reference. Then, in Brand → Settings → Viral Intelligence, choose those videos to pull from them the hooks, structures and calls to action that work best.
Step 9 — Fill in the Brain
In Brain save what your brand knows today: your offers with their prices and conditions, current promotions, your documents (catalog, menu, price list) and key details like opening hours or locations. Also add your customers' testimonials and real cases.
Why it matters: it's what keeps a script from making up a price, a promotion or a case that doesn't exist. Check that each item has Use in AI turned on. More details in Your brand's Brain.
Step 10 — Set your goals for the month
In Brain → Goals, create one or two goals for this month (for example, new followers or saves). Krellot takes them into account when it suggests ideas and scripts. More in This month's goals.
Step 11 — Generate your first ideas
Go to Studio, type a topic and tap Generate ideas. Turn the ones you like into scripts. Continue in Ideas and scripts.
When you're done: how do I know my brand is ready?
- The bar in Brand → Settings is at 100% and every section says Complete.
- Your Brain has at least your current offers and one document.
- Your ideas mention your audience and sound like you. If not, review Audience and Tone & voice and add more detail.
Next step
With your brand ready, create your first batch of content in Ideas and scripts. If you'd rather design, start with Carousels.